Getting Started with FreeOCR
FreeOCR supports scanning from most Twain scanners and can also open most scanned PDF's and multi page Tiff images as well as popular image file formats. FreeOCR outputs plain text and can export directly to Microsoft Word format.
FreeOCR is very simple to use and all of the buttons have a description if you hover your mouse over them.
First open a document
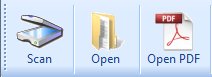
Scan - Use to Scan a paper image, this requires a Twain compatible scanner.
Open - Use to load an image such as Tiff, Jpeg, Bmp. FreeOCR supports multi page Tiff documents.
Open PDF - Use to import a scanned PDF document.
OCR
Choose the OCR language you want to use
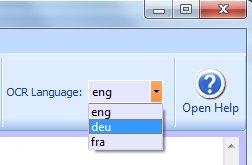
Installed languages include:
Eng - English
Dan - Danish
Deu - German
Fin - Finnish
Fra - French
Ita - Italian
Nld - Dutch
Nor - Norway
Pol - Polish
Spa - Spanish
Swe - Swedish
Press the OCR button and choose if you want to process the current page or the whole document.

The image is shown on the left and the OCR text on the right
You can copy and paste the text into any other Windows application or press one of the export buttons on the text toolbar.
OCR Selection
You can draw a box around part of the image using your mouse and then OCR the current page. This is handy if you just want to get the text from one region of the page.
How to OCR a document containing images and columns
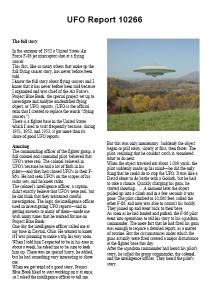
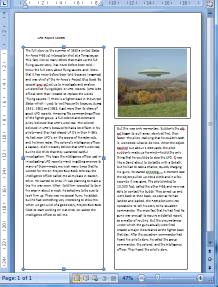
This is a PDF with a fake UFO report you can download the file HERE if you want to try (you may need to right-click and choose 'save link as' or 'save target as'
I am going to use MS Word to recreate the document but you could use Open Office or publisher, in fact any program that supports columns and photos.
1) now to start off I am just going to OCR the page title
2) Then press the Export to Word button which will open up a new document with the title in it, if you are not using Word then just open a new document and copy and paste the text.
3) Next I have selected and OCR 'ed the first column also I pressed the 'remove line breaks button' then in Word created a new Text Box (Insert menu on Word) and copy and pasted the text into it as shown below.
 FreeOCR FreeOCR |
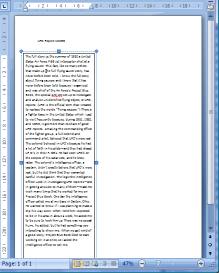 MS Word MS Word |
4) Now clear the text window and do the same for the second column
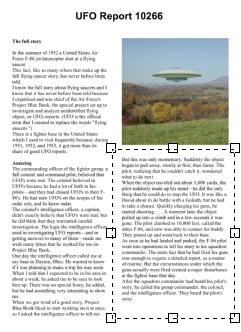 FreeOCR FreeOCR |
 MS Word MS Word |
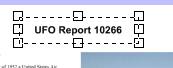
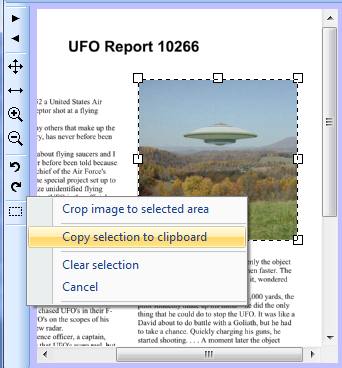
5) Now draw a box around the photo to select the image, then press the selection button and choose
'Copy selection to clipboard' this will place the selected image onto the Windows clipboard so now we can just paste the image into Word (Tip: paste the image into a text box then you can position it easily)
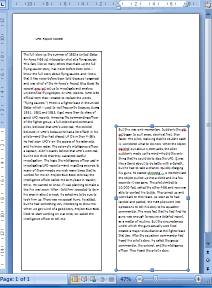
 FreeOCR FreeOCR |
 MS Word MS Word |
Now we have all of the text and images in Word you can play around positioning the text boxes and adjusting the font sizes to suit and don't forget to do a final proof read and spell check.
As you can see there is a manual element of work involved to get the best out of FreeOCR but I am sure you will find it easier than recreating a document from scratch.
I hope you enjoy using FreeOCR